If you were following along with me on my Facebook page yesterday, you know that I dove head first into a fun DIY painting makeover project, and you all had so many questions. I’ll answer them, but you’ll have to wait just a bit. 🙂
For years, I have devoured magazines and kitchen layouts that highlight open shelves.
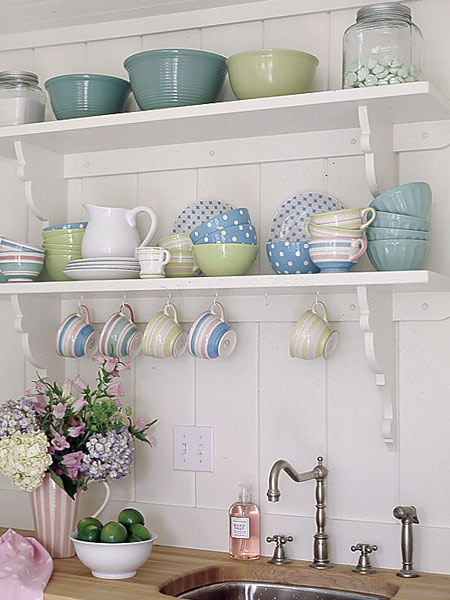
I’ve pondered how I can sneak them into my kitchen without losing a lot of function. I love the clean, crisp look that it gives, but in reality, I know myself and wonder if I could truly ever keep mine looking like the magazines. That’s highly doubtful, but it could be done with enough resolve.
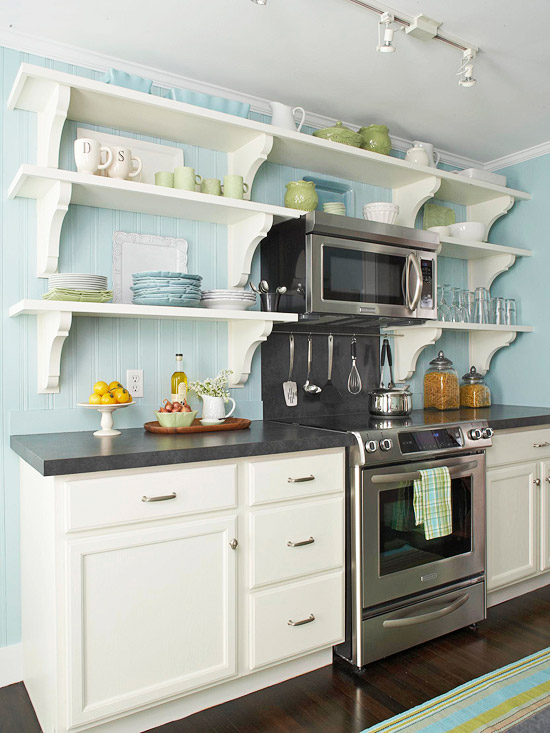
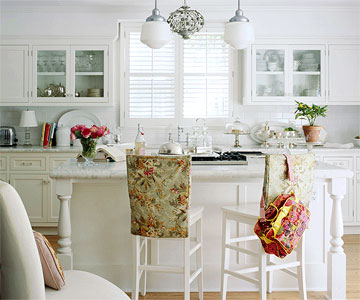
So as I have brainstormed a low-cost, high-style backdrop for showcasing some of my pretty dishes (because I LOVE dishes), I kept leaning towards replacing one or two of my wall cabinets with shelves. Even though I have a fairly large kitchen, this is an incredibly good option for smaller kitchens to make them seem larger. Open shelves stretch the visual image and really makes a statement piece. In this picture, they painted the bead board an accent color to make the shelving and dishware stand out.
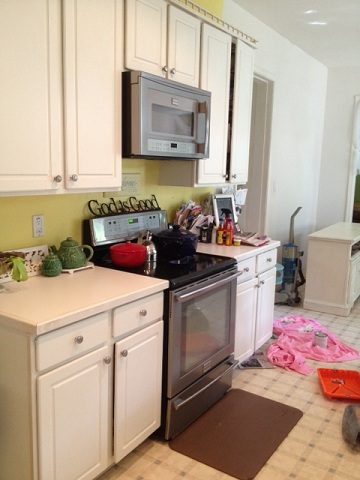
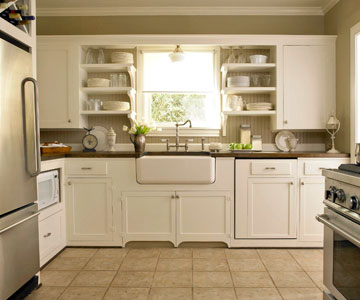
In fact, compare the last two pictures. This above picture is my kitchen, sporting my spray painted kitchen knobs and everything. Yes, completely unedited, un-staged and taken 30 seconds ago. It is a working kitchen, complete with the paint projects to prove it, but you’ll notice a distinct similarity to the picture right before it (minus all the mess).
I pondered trying to duplicate that look, which would not be difficult to do, and would be very cost effective. The only difference would be that I have nearly 10 foot tall ceilings, so I would have to brainstorm how far up to take the shelving.
Yet, practically set in for me. Those shelves are jam pack with necessities, and as much as my heart desires the beauty of the first picture, my favorite cookbooks need their right place too and no open shelf could hold all of them.
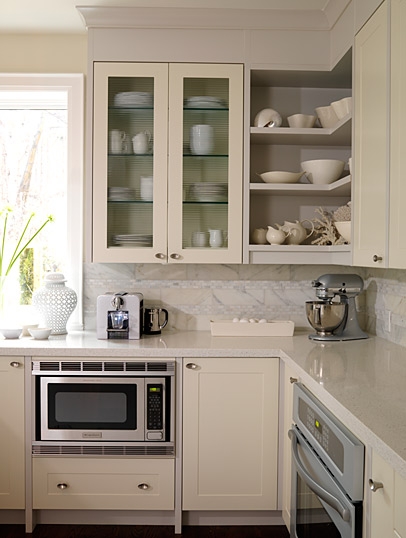
I’ve checked into glass doors, and even had them priced for our kitchen, but I got stuck at the sticker shock, and knew that wasn’t my option since my cabinets are so tall.
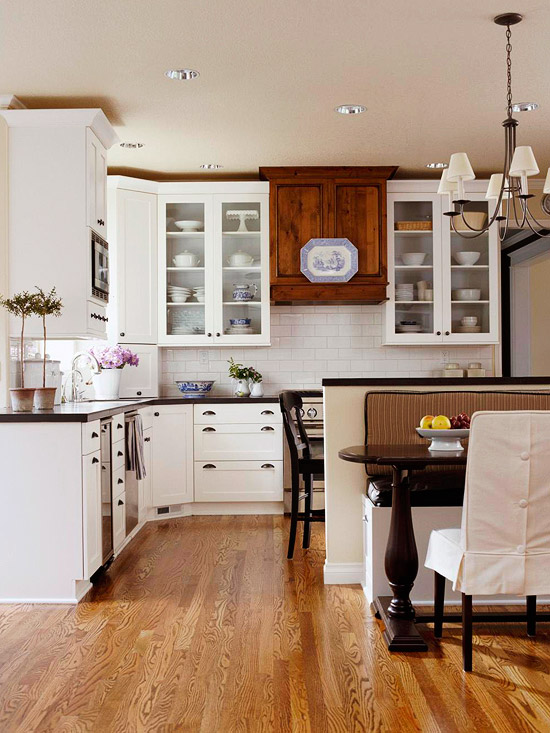
If I had smaller cabinets this would be my first choice. I love the fresh look of these white cabinets, but I’d just a bit more pops of color. I’d dabble with frosted glass because the colored dishes would still show through, but they also wouldn’t be as revealing.
Although my sweet friend, Melissa shared some of her tips on how to have open shelving in your kitchen without daily staging, which are great. Now if she will just come up with some tips for how to have open shelving without having to dust or clean them regularly, I’d be set.
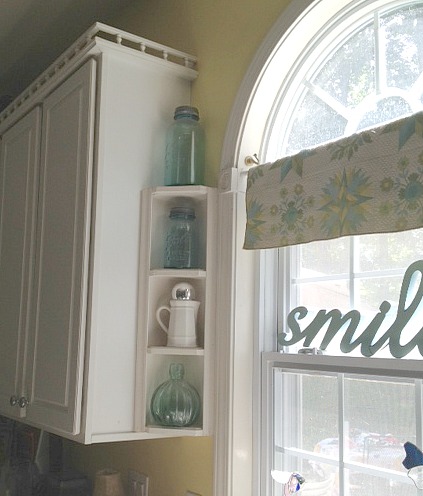
Corner cabinets add such great personality to a kitchen as well.
This corner looks was my desire when I had my corner shelves built for my kitchen. When they came, I was sad because they were so much smaller than I desired, but this was years ago and I didn’t communicate well enough. I have learned that lesson. I still appreciate the accent that they give.
So, I decided to work with what I have and transform a huge hutch that I have been meaning to attack for years. Yes, I’ve been procrastinating since I walked my sister in law (the one with the 11 children) through her cabinet redo years ago. In fact, it was one of my first blog posts.
The dream makeover comes from a second hand hutch that I purchased 15 years ago through an ad in the paper. I remember being so thrilled with that find – a matching hutch, as well as the kitchen table that could seat up to 14 with the quality of Ethan Allen.
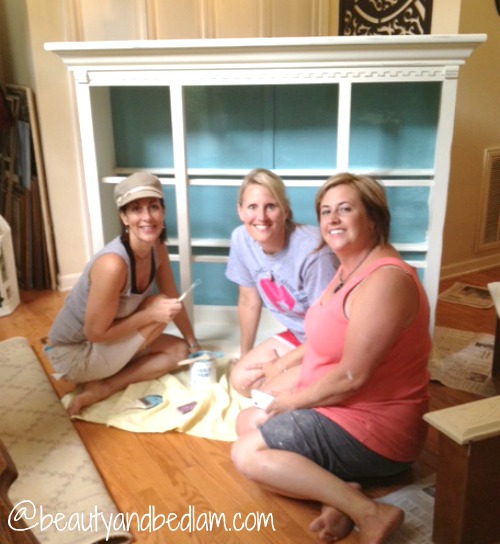
That wood look was loved for many years, but it’s been screaming for a make over. It’s stuffed with my tea set collection and is pushed against a white wall that still has the builder flat paint on it. I removed the the doors,and with the help of some amazing friends, have begun the process of creating an open shelf look without the traditional open shelves that I have looked at for years.
How did I procrastinate on this project for so long, when such instant satisfaction could occur in just a day. Now without help, this would have been a two day project, so thank you, thank you to my sweet friends, Trish and MJ. They are amazing.
In fact, I appreciate their talent so much that they are the ones I sought out this year to teach our painting workshop at the BEcoming Conference.
They are the genius painting dream team behind the blog Huelogy, and also share their Annie Sloan Chalk Paint expertise through painting workshops at the beautiful Interior Design Store, Total Bliss. Seriously, if you live in the Piedmont Triad of NC, Total Bliss is eye candy for the decorator’s soul. I’ve been tempted to just camp in there and absorb all the beautiful creativity. Both MJ and the owner of Total Bliss, Nancy, go to my church, and all too often, I want to corner them on Sundays and just pick their creative brains (but I’ve held off with great restraint. ;))
Ok, I told you just a sneak peek, and I know this it is mean to make you wait, but isn’t this fabulous? (Hutch Final Transformation is up).
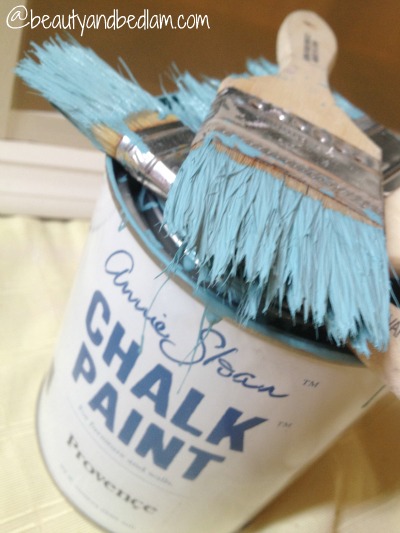
I can’t even believe it’s the same piece, which I will show you in its entirety next week.. Thanks to the amazing power of Annie Sloan’s Chalk Paint, I didn’t have to sand or prime it, which was a huge reason I’ve put this chore off. Plus, I could paint indoors since one of its wonderful selling points is it’s eco-friendly with Low Odor, so you couldn’t even tell we were painting inside.
Just look at this beautiful blue. You know how much I love pops of color. So much so that I painted my laminate kitchen island a similar color a few years ago, and I just love it. This is her Provence Color, since I know many of you will ask, and the main hutch is painted with the Old White.
I’m off to attack the big, white wall today because once we put this beast back in place, it’s not moving for a bunch more years.
Happy painting everyone.
If you are stuck on how to infuse a new love for your home working with what you have, go grab your paint brush. I’m hooked, once again.
***** Before and After Painted Hutch Redo is up here and then Go check out that how I styled it for Chritmas.



Jen, sent you an email with some pics of some OLD corner shelves lol.. this post brought back memories for me!
What awesome friends to help you with this project! Can’t wait to see the finished hutch. I inherited dh’s grandmother’s china hutch and a buffet/sideboard cabinet last year and I so desperately want to paint them white. But dh won’t let me because they were his grandmother’s. They are beautiful vintage cherry wood cabinets but just so formal looking for me. Maybe one day … Glad you figured out how to have the open shelves you wanted. Love the pop of blue.
I would love to come back and help placing the goods on shelves and snapping a few shots! We had a blast!!!
Ok, you are going to laugh. I went through TWO wall colors. (Yes, ran to Lowe’s TWICE) and I still didn’t get it right. I think since the old white has a hue of the yellow, I choose cool hues. I was so excited to see it this morning. I have the base hutch up against the wall and it looks GORGEOUS!!. Now, praying that the Provence doesn’t clash with the wall color I chose because that would just be so perfect for my blog…yes, beauty and bedlam.
Thanks again for your help. It’s so contagious. I can’t help but walk around thinking how quickly I can paint things this week before the wedding. haha
Julia Vestal Denton I got the pictures. Oh my….SO SO Sweet!!! And yes, love that old farm house. 🙂
I have an area that I want a hutch in so bad. I think I’ve convinced my husband to do built in buffet/hutch type thing for my birthday – Christmas – Valentines – Labor day- Memorial day- Easter – just because gifts for the next couple of years.
Open shelves are great. We had them in a house we lived in 4 years ago. It makes putting stuff away super easy.
thanks Jen!
Probably this has been suggested to you before, but have you considered cutting out the mid-panels on your cabinets and replacing them with glass or acrylic plastic? My parents did this with a corner cabinet (they used recycled etched church window glass). You could even keep the center panels to put them back in if you changed your mind in the future. And I love the repainted hutch.
Just wondering where did you get your brackets for the shelving project…it looks great.
It all looks gorgeous! When using the chalk paint, can you then use a glossier paint over it? Does the chalk paint have a rough finish like a chalkboard? I love the idea of no prep! I have so many pieces I could paint! I paint and stencil old chairs and have hutches and smaller pieces of furniture to work with! Yay!
@Marcia, You could use a glossier paint over it but it might defeat the simplicity of the chalk paint. You could maybe just use poly over it for the sheen if you want.
It isn’t quite as rough as a chalkboard, but not smooth until you use wax over it, which is what I did. Then it’s really smooth.
You’ll love it.
This chalk paint you can use it over already finished pieces and or painted pieces? and the wax does that protect it for dusting ect? also can you order this online from Anne Sloan ? thank you Debbie
Yes, you can paint right over painted pieces without having to re-sand. That is what is so nice about it. The way seals it and protects it for pieces that are handled a lot. If it’s just a decorative piece, you don’t have to wax, but gives a nice finish. It’s only sold through select stores that are mentioned on their site.