
It’s not often I’m called cruel. In fact, I don’t know if I’ve ever been called that, but I’m pretty sure you may mutter that under your breath today.
I admit, putting up a picture of these No Bake Peanut Butter Cup Bars for you all to see, covet and drool over is cruel, especially when I can’t share them through the screen.
That means you just have to come visit.
I’m more than happy to whip up some since they’re so easy and they come together in minutes. Can you tell that’s my catch phrase? “They come together in minutes.” Yep, that’s how we roll (see more ideas below) and I love guests.
Peanut Butter Cups are just about my favorite candy bars. (Well, to be 100% honest, Snickers first, then PB Cups, but whose comparing.)
Any time chocolate and peanut butter come together, it’s a happy day for all, so why not spread the love with a huge pan.
Are we still friends? 🙂
Recipe: No Bake Peanut Butter Cup Bars
Summary: These No Bake Peanut Butter Cup Bars combine two of our favorites into one amazing dessert. So easy, so good.
Ingredients
- 1 cup butter or margarine, melted
- 2 cups finely crushed graham cracker crumbs (Typically a full box)
- 1 1/2 cups confectioners’ sugar
- 1 cup peanut butter
- 12 ounce bag of semisweet chocolate chips
- 4 tablespoons peanut butter* optional
Instructions
- In large bowl, mix together one cup softened peanut butter, butter or margarine, confectioners’ sugar, finely crushed graham cracker crumbs and combine until very well blended.
- Spread mixture into bottom of an ungreased 9×13 inch pan and press evenly.
- Put in fridge or freezer to cool while melting chocolate.
- In double boiler or microwave, melt the chocolate chips with the peanut butter*, stirring occasionally until smooth. You may omit peanut butter if you want just chocolate layer or if you are in a rush, skip melting the chocolate and just add Nutella for the “Frosting.” (sigh)
- Spread over the prepared crust.
- Refrigerate for 15 minutes, then take baking sheet out and cut into squares before chocolate has fully hardened. (Not critical, but helps avoid cracked chocolate.)
- Put back in fridge for an hour until well chilled.
- Serve chilled.
- *See additional tips.
Preparation time: 10 minute(s)
Cooking time:
Number of servings (yield): 12
Extra tips:
Honestly, these No Bake Peanut Butter Cup Bars is such an easy recipe, so I don’t want to try and overcomplicate it, but I’ll give you a few tips I’ve learned along the way.
To make cleanup a breeze, first line the pan with parchment paper and have it come up over the edge. That way you can easily lift the bars out to serve for company.
To make mixing super easy, just soften the butter and then add the peanut butter too and let soften together, then add the crumbs to the warm butter mixture and give it a stir to soften the crumbs. This helps avoid any grainy texture in the crust. When I ran out of butter, I have used 1 1/2 sticks and couldn’t tell much difference at all. Made me feel healthier. 🙂
The finer crushed the crumbs are, the better the bars, so if you have a food processor, that’s the best, otherwise, just put in ziplock bag and go to town. For my family, they don’t care and I’m lazy so I don’t want to wash out the food processor bowl. 😉
If you have time stick the base layer in fridge or freezer to let them chill first before adding the chocolate layer.
Enjoy, ENJOY!!!!
If you’re in the mood for some more NO BAKE treats, why don’t you try my
No Bake Peanut Butter Protein Bars (much healthier)

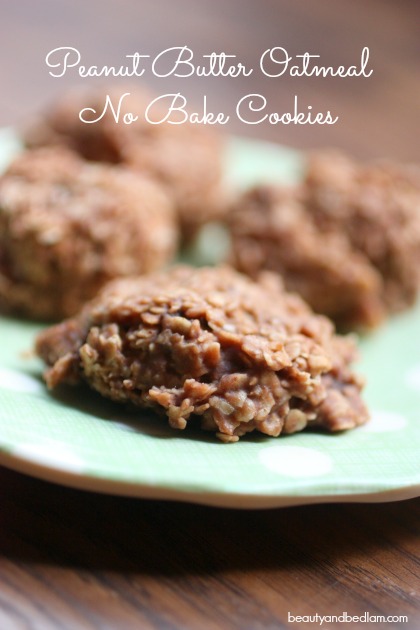
No Bake Chocolate Peanut Butter Oatmeal Cookies
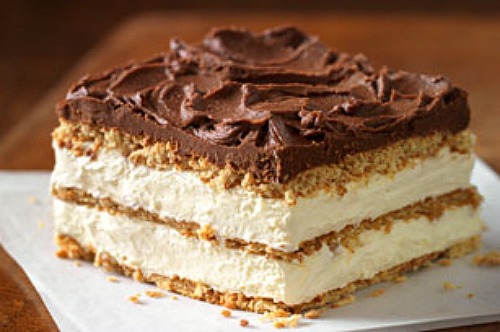
or No Bake Chocolate Eclair Cake
Hi! I want to try this recipe tonight – looks so good! Do you typically use creamy or crunchy peanut butter?
It’s completely your preference. It works the same, but with the crunchy, your bottom layer will just have the nuts in each bite. 🙂
Just finished making graham cracker crumbs and measuring 2 cups. It only took about 1/2 the box and my mixture looks pretty soupy. Should I just be using the whole box and not worry about the 2 c. measurement?
Yes, it typically takes nearly a whole box. I wonder if based on how much they are crushed, measurements are different. I’ll go edit that.
These were the most fun to make and watch disappear! Thank you for the easy instructions and fun site.
So glad you enjoyed them. 🙂