

Every year around this time, my desire is to dust off my sewing machine (well, get it out of the packaging would be more precise) and attempt some easy handmade gifts.
Those are always the things that are most special in the gift giving department and these cute totes would be the perfect thing for the holidays. What girl doesn’t love a new bag to haul her every mounting mountain of stuff in?
Angi from SchneiderPeeps saw my Sewing 101 post and knew my desire to learn some simple sewing projects. Earlier, she sent me a beginner fashion beret tutorial and yo yo embellishment post, and now this great Sewing 101 tutorial to add to the repertoire
 source – (Easy to Sew Purse Pattern Using Dish Towels)

Another great tote bag – love this fabric
Remember, you don’t have to be a sewing expert to enjoy this attempt. Angi gives you some detailed instructions, but the bottom line is experiment. Cut fabric and sew together. That’s it. My daughter made an adorable on using cloth place mats and it was perfectly Good “enough.”
Thanks so much, Angi, take it away.
![]()
Have you ever looked at tote bags at the store and thought, “I like it, but it’s not the right …color, size or whatever?”
Well, in about an hour you can make a bag that is just right for you. And once you start making your own bags, you will never look at a store bought bag the same.
Supplies:
- 1/2 yard of fabric for the outer bag (cotton or duck canvas works great)
- 1/2 yard of fabric for the lining (lightweight cotton such as broadcloth or calico or even a sheet works great – you know the one that has a hole in it but you keep it because you might need it one day?)
- thread
- straight pins
- sewing machine
- iron and ironing board
- seam ripper – just in case (this should be the one of the first things you buy when you start sewing – go ahead and splurge and get one that costs more than $2 – you’ll be glad you did)
- chopstick – get one out of the kitchen drawer and add it to your sewing basket
How to make a lined tote bag:
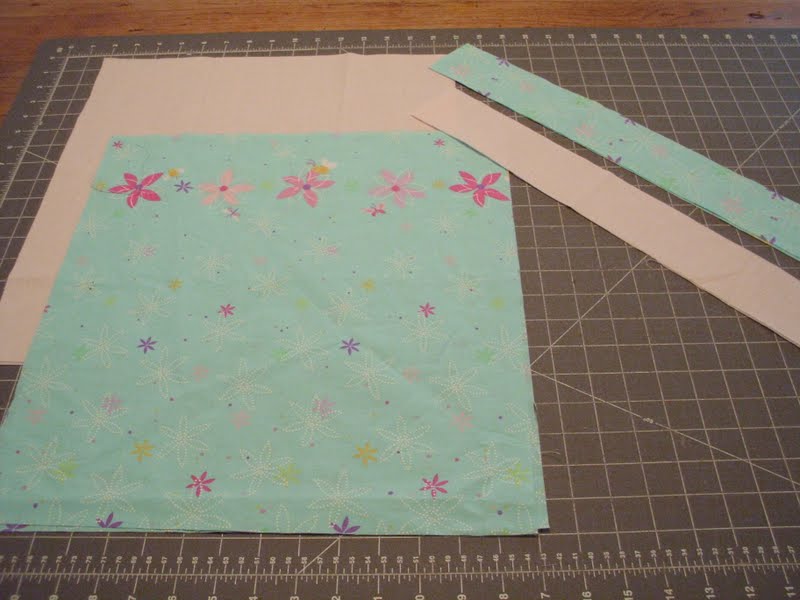
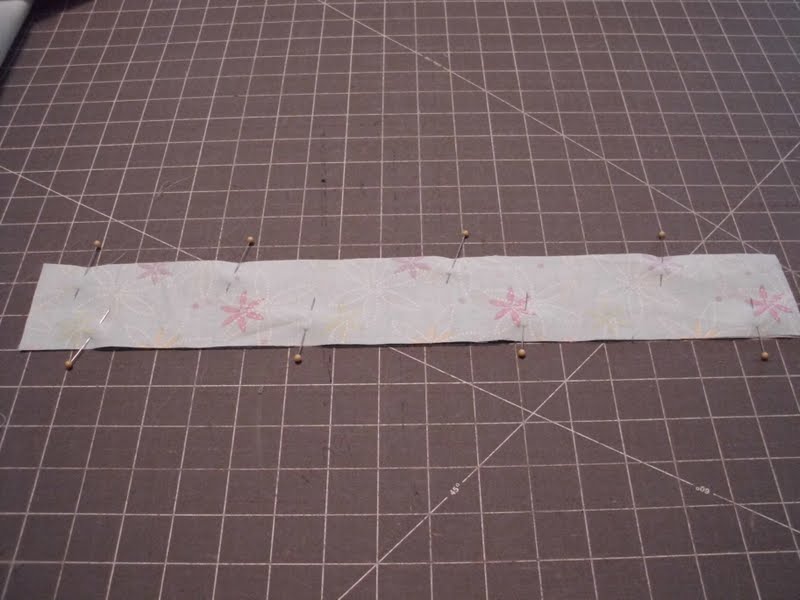
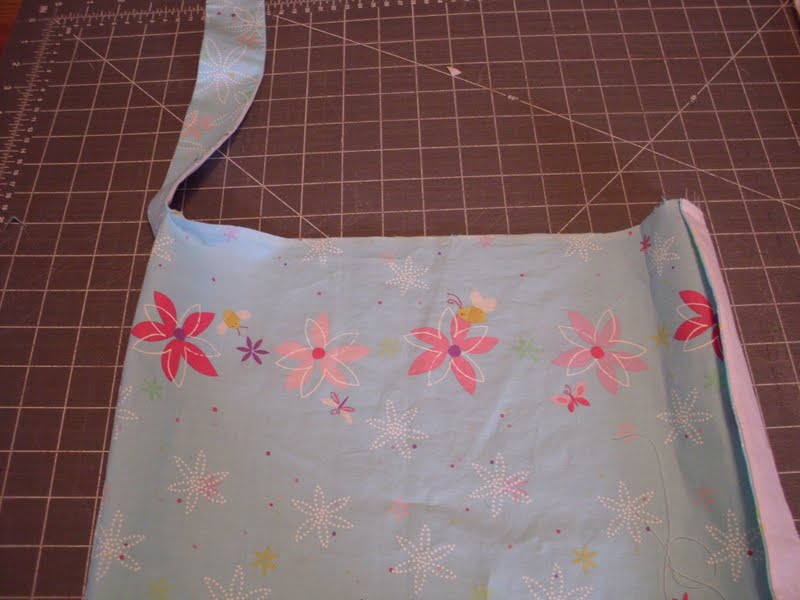
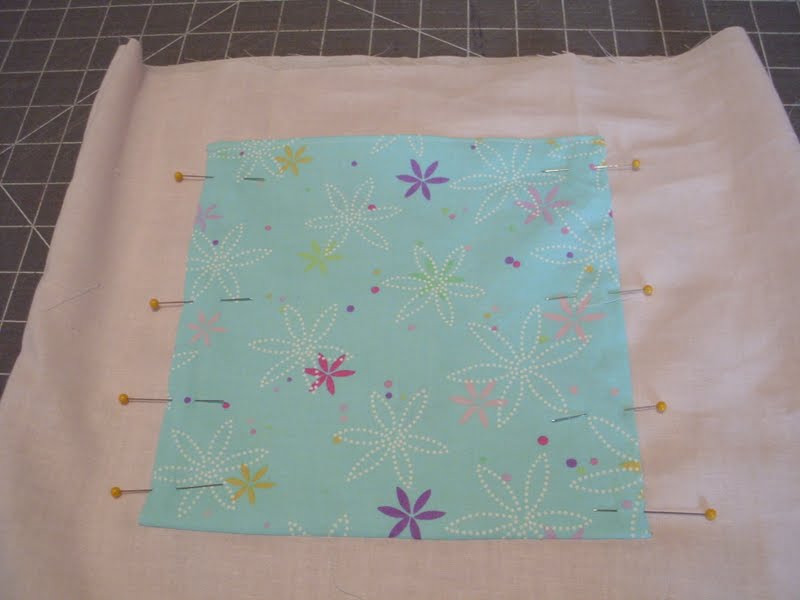
Cut 4 pieces of fabric that are 15″ wide by 16″ long (2 from each fabric)
Cut 4 pieces of fabric that are 2.5″ wide by 18″ long (these will be your straps)
An advanced step: If you want to have a pocket or two inside (or outside) your bag, go to the optional pocket step at the end of the tutorial. It’s so much easier to put the pocket in before you start sewing the bag.
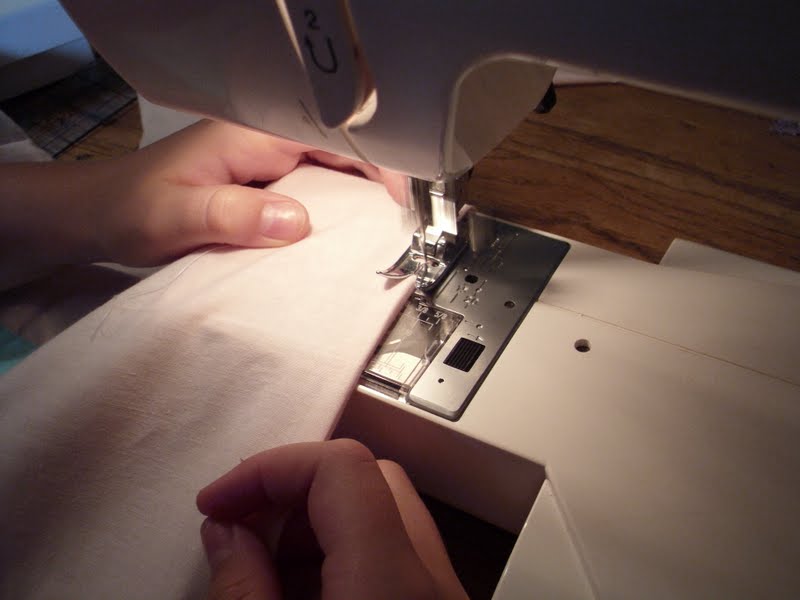
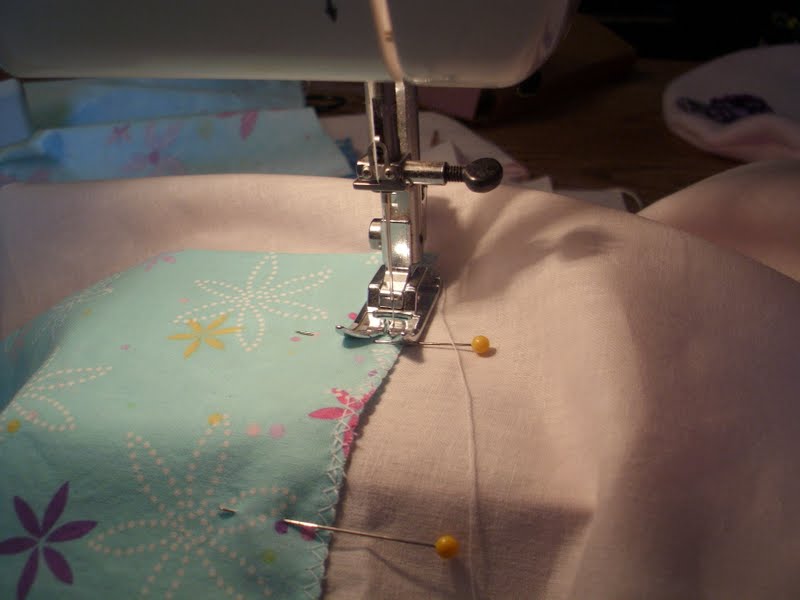
2. Make outer bag:

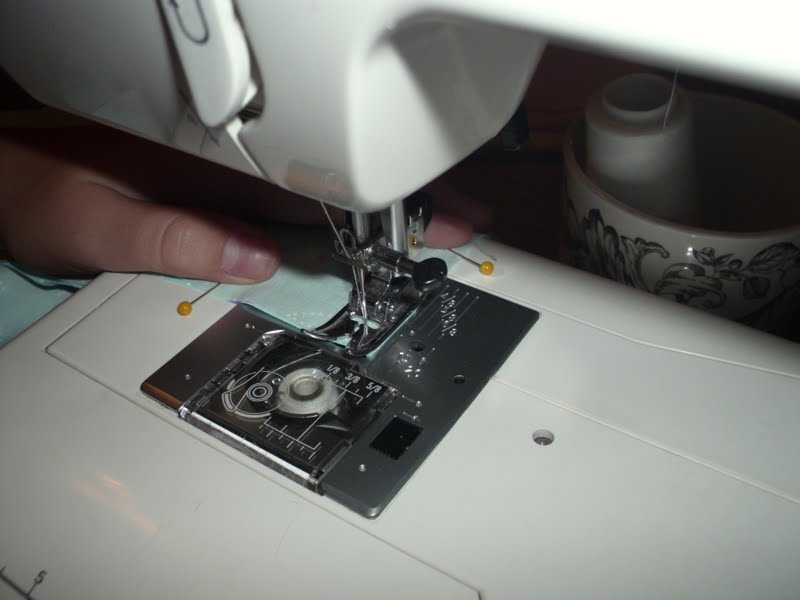
When you get to the end of the first side, stop stitching about 1/4″ away from the bottom. Raise your presser foot and turn the fabric so that you can sew the bottom. When you turn the corner if you have quite a bit of fabric hanging out to the right of your presser foot, turn your fabric back around and by hand (with the wheel on the right side of your machine) make one or two more stitches. Now turn the fabric so you can stitch the bottom. When you get to the end…stop…turn the corner and sew the last side.
3. Make bag lining:
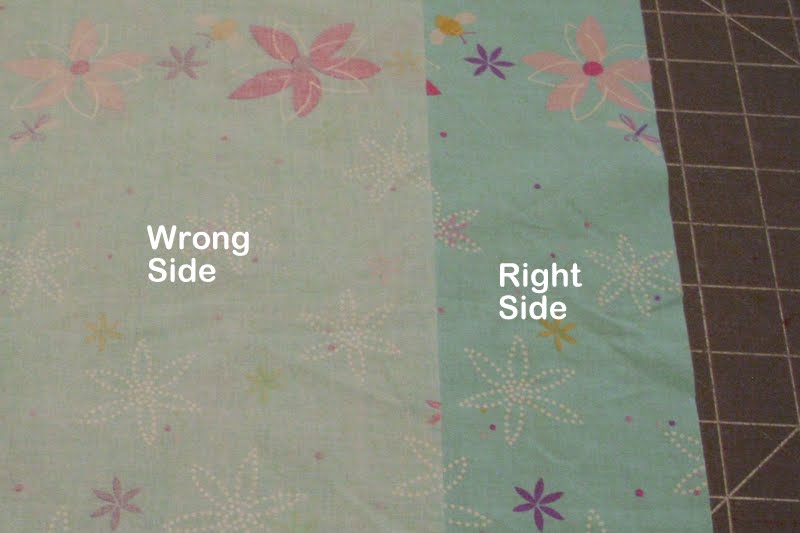
Take your lining fabric and pin both 16″ sides with right sides together. Some fabrics don’t really have a right side and in that case you get to decide which side you want to be your right side.
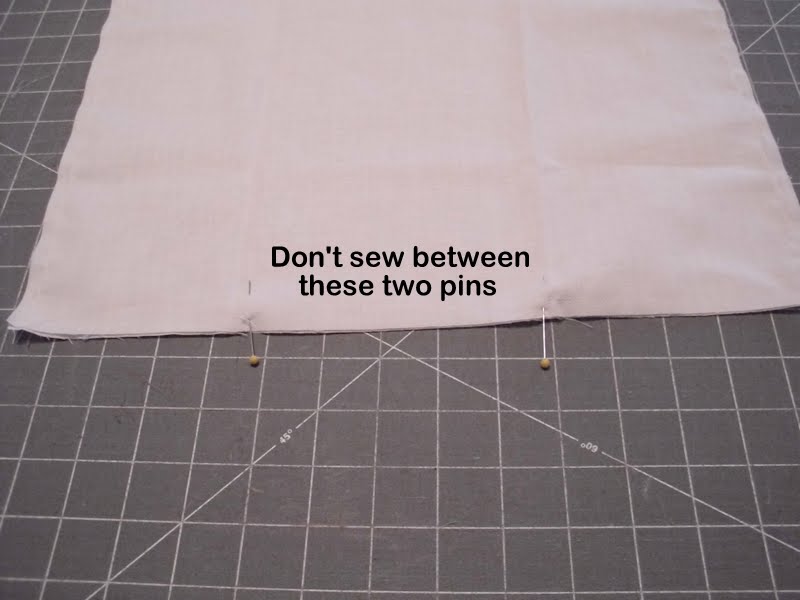
For the bottom, we’re going to leave about a 6″ opening right in the middle.
Sew all three sides, just like you did for the bag, but don’t sew the middle 6 inches.
4. Make the straps:
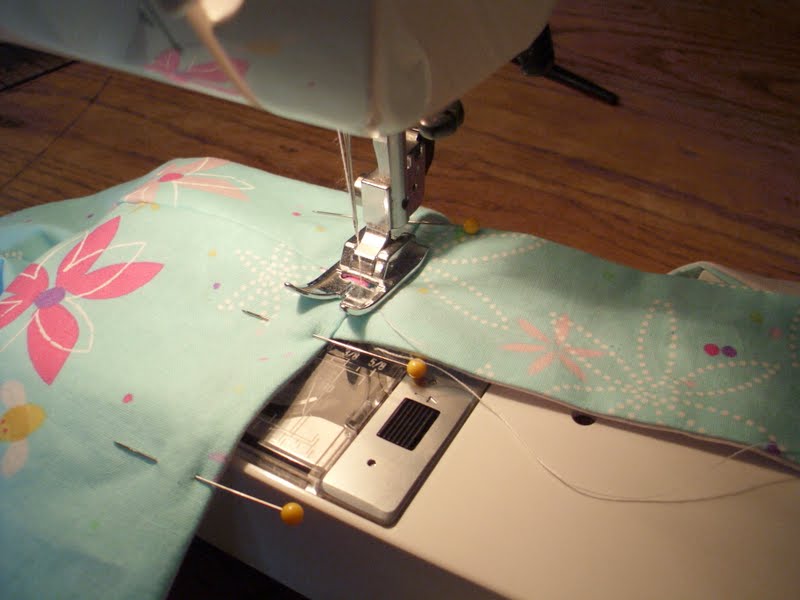
Take the strips you cut for the straps and pair them up. One outer fabric and one lining fabric in each pair. Put right sides together and pin 3 sides – 2 long sides and one short side.
Stitch the three sides just like you did the bag.
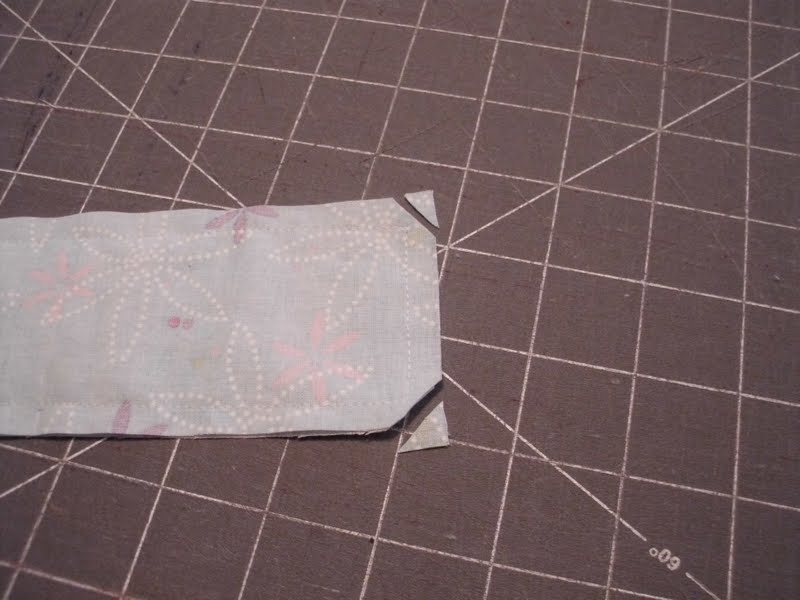
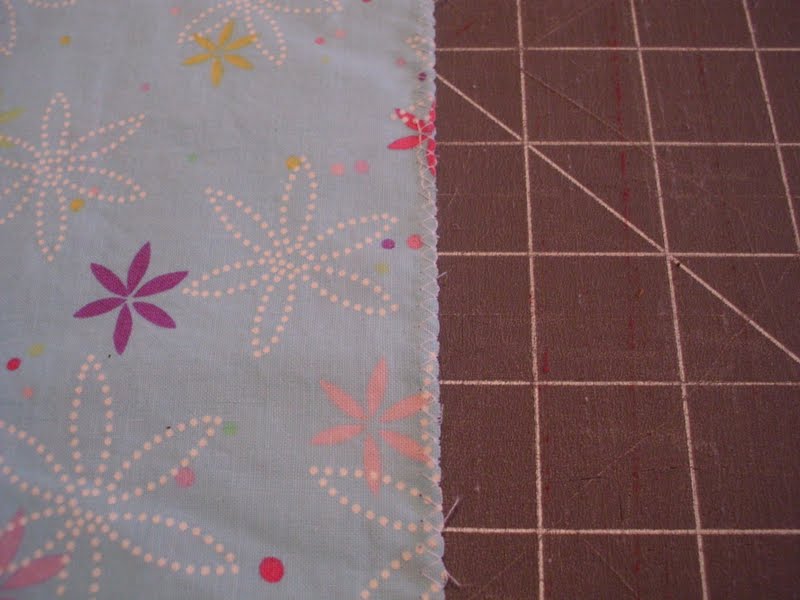
Then cut a small triangle off the corners of the short side that you stitched, make sure you don’t clip the stitches.
Make your second strap.
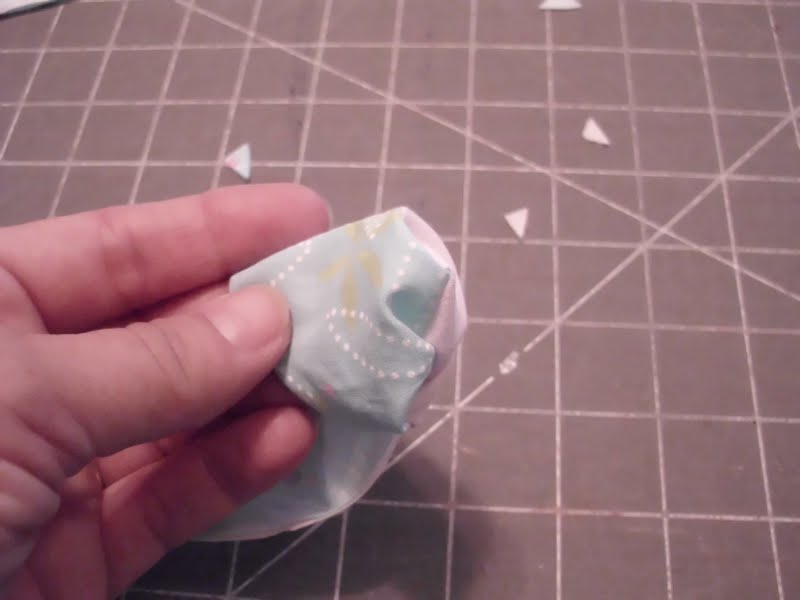
Now we’re going to turn the strap right side out. Keep pulling from the inside and eventually it will all be out. You can use your chopstick to help push the fabric through and to push out the corners so that they are square. Iron your strap flat so that the lining is on one side and the outer fabric is on the other.
5. Attach the straps
Clip little triangles of the bottom of the corners of your bag. Turn your bag fabric right side out. Take the straps and line up the unsewn edge of the strap (this is called the raw edge) with the top of the bag centered over the side seam. Make sure the right sides are together. Pin it with a couple of pins.
Stitch the straps on. After they are stitched on lift one strap up and see how it will look when you’re finished. If you sewed the straps on in a way you don’t like (like maybe the lining side will be out when you put your bag on your shoulder) this is the time to change it.
6. Sewing in the lining:

Pin the straps down at the sides and on the front (just through one layer of the bag…you should still be able to open the bag).
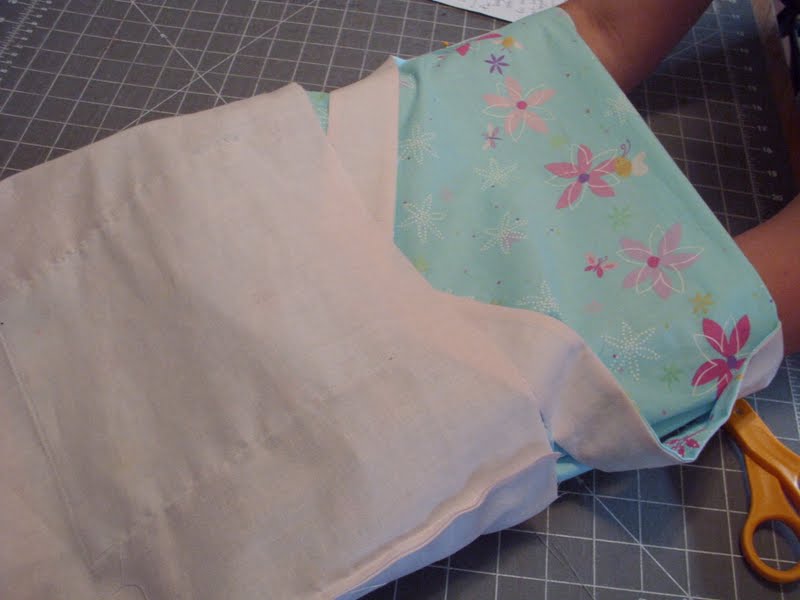
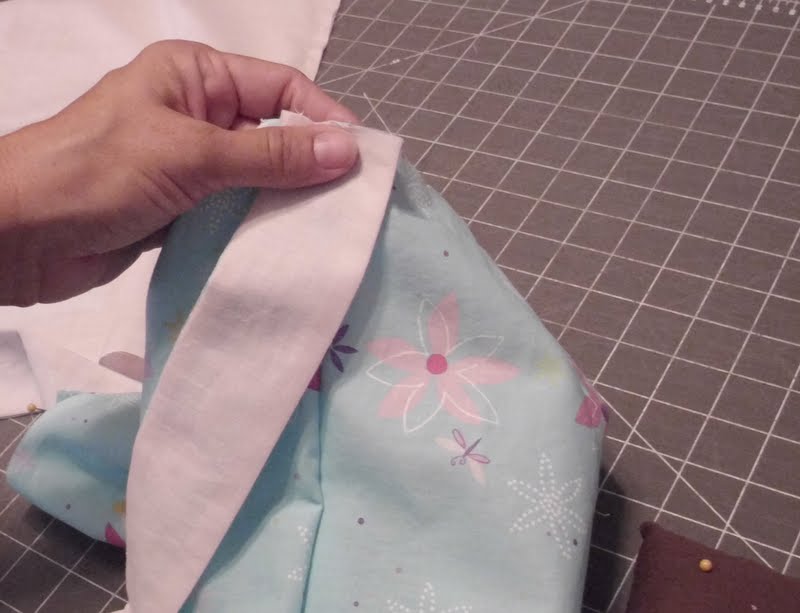
Clip the corners of the lining. Now put your bag inside the lining. Your lining will still be wrong side out. So the right side of the bag should be touching the right side of the lining.
Pin the lining to the bag all around the top of the bag (this will be your raw edges).
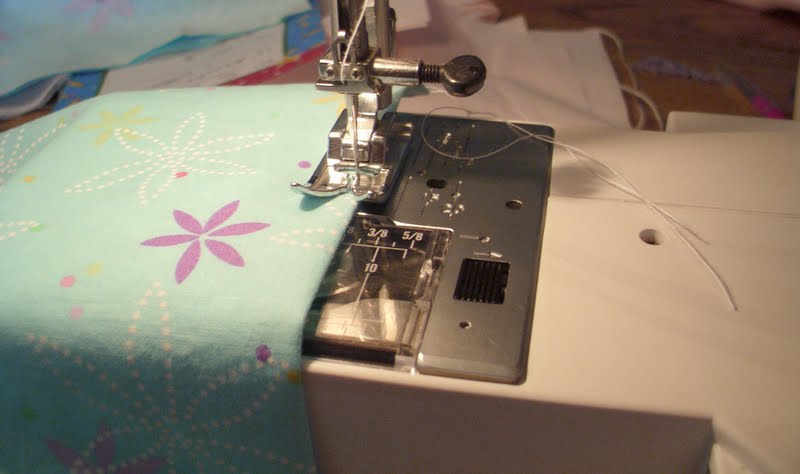
Stitch around the top of the bag using a 1/4″ seam allowance.
Now, check all your seams for long threads and cut them off.
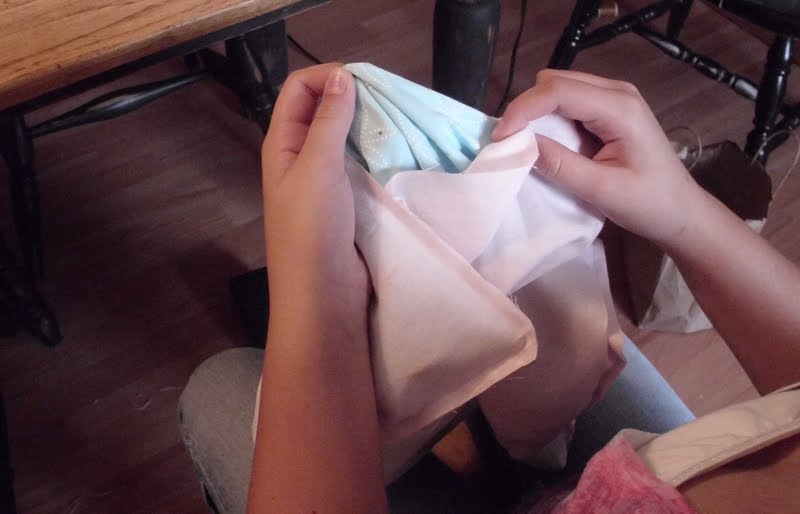
Pull the outer bag out through the hole in the bottom of the lining. Keep pulling until it’s all out.
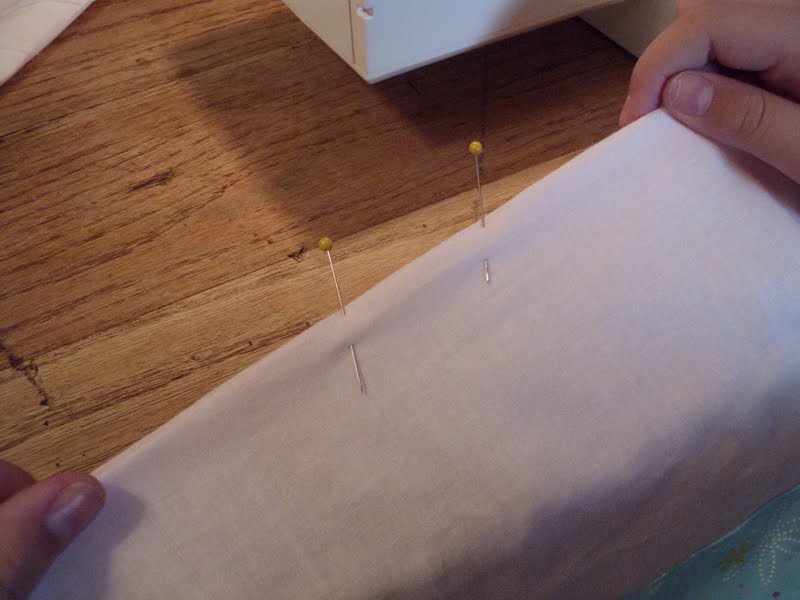
Pin the hole shut tucking in the raw edges.
Stitch the hole closed stitching very close to the edge.
7. Finishing up:
Put the lining inside the bag and smooth it out. To really make your bag look great, pin all around the opening smoothing out the lining and the bag as you go.
Now, stitch all around the opening pretty close to the edge…about 1/8″ seam allowance. This is called topstitching and really makes your project look nice and tidy.
Tie the two straps together.
8. Enjoy:

Optional pockets:
Pockets are a great addition to a bag and can be put on the inside or the outside of the bag. I chose to put it on the inside for this bag.
This will be first thing you do after cutting your fabric for the bag.
Cut a piece of fabric that is 8.5″ wide and 15″ long.
Fold your fabric in half with right sides together so that it measures 8.5″ wide and 7.5″ long.
Pin and stitch both side seams (the 7.5″ sides)
Turn the fabric right side out. Now you should have a piece of fabric that has a fold on the top, both sides are sewn shut and the bottom is open. Using your zig zag stitch sew the bottom closed. Position your fabric so that every time the needle goes to the right it goes off the fabric. This will keep the fabric from fraying. If you don’t have a zag zag just use your straight stitch and a little less than a 1/4″ seam allowance.
Stitch close to the top of the folded area. This will keep the folded seam nice and tidy.

Place your pocket on your the right side of your fabric with the zig zag edge facing up about 6″ from the bottom of the bag. (the bottom of the bag will be one of the 15″ sides)
Stitch the bottom of the pocket onto the fabric using a little less than a 1/4″ seam allowance. Your pocket will look more like a flap at this point.
Now the pocket is on and you can make your bag.
This easy purse pattern is perfect for the upcoming holidays. How fun to have your children join you in making lots of great handmade gifts.
Angi is a minister’s wife and mom of 6 crazy kids. She writes several times a week at SchneiderPeeps about the goings on of her family which includes, among other things, crafts, homeschooling, gardening, chickens, and bees.
Jen, I loved this post. I am in need of basic sewing lessons, you must have read my mind. Thanks, I love your blog.
So glad, Kathy! I know not everyone wants Sewing 101 skills, but this is something I have always wanted to master or at least be at a beginner level. 🙂
This was my very first “real”sewing project. The directions were great, and the tote came out wonderfully! Thank you!
So thrilled that you enjoyed it! YAY!
Thank you so much for the basic tote bag! I looked everywhere for a pattern and found this beauty. I just made it for Mother’s day for my mom 🙂 (yes I know its early) I used orange chevron duck canvas and teal lining. The only thing I did differently is sew my straps together.
YAY!! What a fun surprise that will be for her. I’d LOVE to see a picture and add it in here. 🙂