As I browse amazing party decorations, my prerequisites always include amount of time, ease and budget-friendly.
When Cynthia shared what she did for her daughter’s birthday, I squealed with delight. This easy to make and even easier on the budget’ example of fun and fabulous party decor was something that my two daughters could help make.
I found tissue paper at Target, but then scored some more at the Dollar Store for 1/3 of the price. 🙂 Seriously, this whole project could be done for just two dollars, and when everyone of us is trying to balance our budget, that’s music to my ears and wallet. 🙂
With time being a premium, I knew these would need to be easy, and since I first posted this, I’ve used them for so many gatherings like my niece’s bridal shower.
Here are the ‘more than simple steps’ to mastery. I made these the night before the party, so sorry for the dark pictures.
Take eight sheets of paper, line them up and fold them accordion style.
Once folded, wrap a rubber band in the middle, but not too tightly. Thinking this would be a fool proof craft, I put my rubber band on too tight the first time and my pom pom ended up looking a bit like a dumbbell weight. 🙂
Once finished, round the ends to make a softer flower look (not pictured :).
Save the ends and use them later for additional decor.
Begin to separate the layers, and carefully pull each sheet out one at a time.
It was easy to have the girls help with this step as we sat on the floor together…bonding. 😉
As I completed one side and went to take the picture, I realized this would be an adorable centerpiece just like this. It makes a fairly large pompom, and the size can be altered based on the size of your tissue paper.
Take any kind of ribbon or raffia and tuck it into your rubber band as the hanger.
TA DAA!! I couldn’t believe how fabulously they turned out. My hubby came down in the morning and commented, “Wow, this looks very professional.”
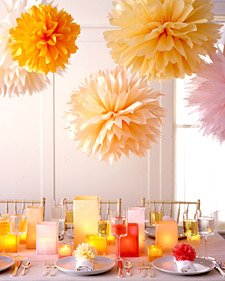
Due to time constraints, I only did three large pompoms and hung them from our great room door opening.
Our ceiling is almost ten feet tall, so this gives you an idea of how large they were when finished.
I attempted to get a wide angle shot of all three, but I couldn’t fit them all in the picture frame.
They are still hanging up and I just don’t want to take them down. They just make me happy. 🙂
If I had more time, I would have alternated and made some smaller ones as well to hang in between for a really dramatic flair.
I can’t wait to use this for so many differing party occasions.
Look what I did with the left overs from the rounded edges? My daughters had fun sprinkling them all over (and I mean..ALL) over and I experimented with a tiny pom pom…such fun. 🙂
Enjoy these creative party ideas on a budget – I sure did.
*********************************************************************
Has anyone else made these pom poms? Send me a pic and I’ll add them to our “gallery.”
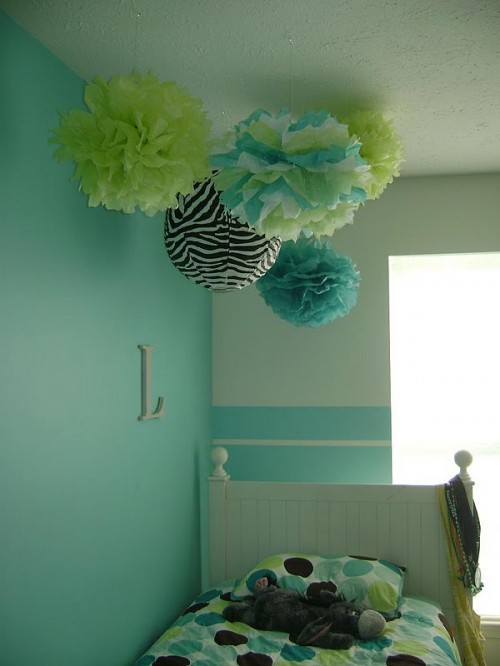
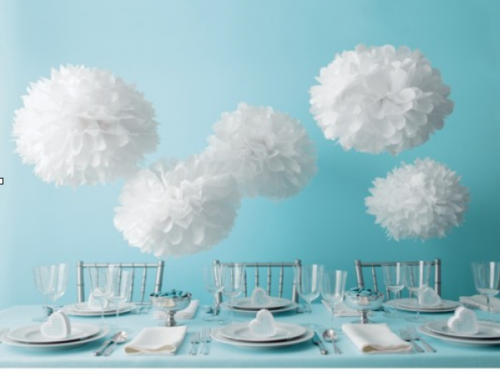 Stephanie showed me the adorable accents in her daughter’s room. Check it out!
And as only “Martha” can…


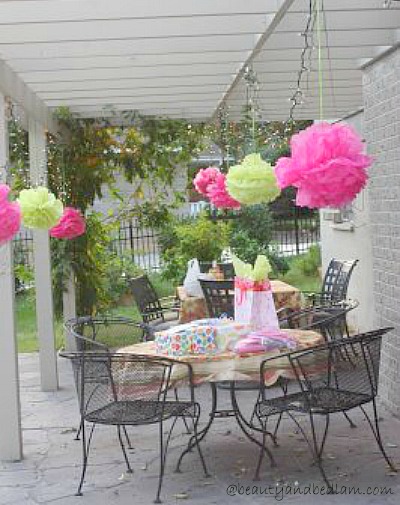
You're SO talented!
We made them to hang from a tree for my friend's wedding. They were beautiful and so easy!
wow! Those are fabulous! Thanks for stopping by my blog.
Those are SO cute! You could make them for any type of party, even for holidays, just by changing the paper! So creative!!
~Alyshia
These are beautiful! Now I need to think of something to use them for! I've been reading your blog for awhile, and just started my own, so commenting will begin as well 🙂
Amanda
You make it look so easy! Mine would definitely not look at cute as yours!
SO cute! I can't wait to throw a party so i can make some!
I had forgot about these…but my mom used to make them to decorate our girls scout troop floats in for the parades 🙂 I love that you used the floral paper…they are awesome!
I love these! Thanks for a great idea!
What a lovely idea! I think I might just make a few just because… 🙂
They are lovely! I remember seeing these at Cynthia's site. Now how can I incorporate these into all-boys parties?
thank you SO much! I'm throwing a baby shower this weekend and have been stressing out because I don't have much money to decorate and needed some good ideas! I will definitely use this!
I love those tissue paper flower balls! So pretty! I always make them with the kids I teach on Saturdays. They brighten up the classroom and they are fun and whimsical : ) Yours are pretty. I love pink!
Oh Jen, thanks so much for mentioning me… You are always such an inspiration, it is nice to know that I might inspire you…. I hope your daughter's birthday was great!
Thanks again,
Cynthia
Very cute! I love the dollar store for party decorations. This is such a creative idea that has big impact. Thanks for sharing!
These are what I've been making as aisle decor for my upcoming wedding. 🙂 I found my instructions on Martha Stewart weddings. They're just lovely!
Magnificent! I have three boys, but I can totally see doing these in primary colors and using them even for boys. I LOVE IT! Thanks for sharing.
Wouldn't these be great Christmas party decorations? I can just see them in all red, gold, and silver. Hm. I may be the only one thinking about Christmas. 🙂
They look great! Another blogger tried this, but it didn't turn out too good. I remember making something similar in school. It would be a fabulous decoration for Mother's Day or any special occasion.
I also thing they would look beautiful on a Christmas tree.
I LOOVVEEE it! Thanks for showing the "how to", I am definitely going to be trying this one out.
Teachers could do this for a back to school event with red balls and a brown or green stem for an apple….ummmmmm, the ideas are endless!
So cute!! Thank you for showing us how to make them!
What a fabulous idea. I used to make flowers like this on a smaller scale using tissues, they come out looking like carnations – very pretty.
I can't see the pic where they are hanging from the tree at the bottom of your post, but I see one at the top that has them hanging with garden lights? is that the one?
So cute!!! Amanda @ Imperfectly Beautiful has made those too. 🙂 Love the pretty girly colors. 🙂
THANKS! I wanted to do this for my daughter's ceiling in her new room but I was reluctant to spend the Martha Stewart price…I knew they could be done more frugally!
Gorgeous!
I love this idea! I rarely decorate much for parties, because I'd rather spend my budget on food. I really need to be taking notes better!
For some reason I can see it now… Thanks for posting her picture!
I love that idea. Can't wait to try it at my next party…
Alyssa
Lifeoflyssie.com
This is such a fun decoration isn't it! I did this above my daughter's crib instead of a mobile. I just love how peaceful it looks. I used fishing line so they look like they are floating.
I love these! They look amazing!
LOVE IT!! Those are so cute and you could make them for any occasion!
My son and daughter (in-law) made these and hung them over the dance floor at their wedding reception. We had so much fun poofing them out and hanging them, and it looked so festive!
I don't have a picture of it but I used some old sewing pattern paper to make a puff! I was/it SOOO cool! I love the vintage color of the old tissue paper and you can find old patterns everywhere! Looks great!!
CUTE AS A BUG!!! I HEART anything that is cheap and cute for party ideas. Thanks for sharing.
Blessings,
Linda
I have always wanted to make those poms. thanks for the lesson!
SMiles!
Michelle
Ok, this is crazy, but I just found you blog and I think I know your sister-in-love… Rachel right? I grew up in Wisconsin and she and her hubby were good friends with my older brother Mark and his wife Jane. Too funny. It is a small world. Your family is beautiful and I love all your neat ideas. From one homeschooling mom of 5 to another:) Blessings.
Sara
http://www.hintzshappenings.blogspot.com
Those are really great! I could see them in school colors too, for decorating a sports event, etc.
Thanks for sharing!
~Liz
great idea! My younger daughter wants to have a spa party for her birthday and what a cute idea to hang from the ceiling. Each girl is going to get a body poof in her bag so this will just add to the theme.
I absolutely love this idea. And of all of the poms, yours with the patterned paper is the CUTEST ! They look so fabulous when done in multiples. You can't beat the price too ! This is definitely on my list for party decor.
Thanks for posting,
Kate
Too cute! We have a whole bunch of these in white along with some paper lanterns for the wedding! You will have to check them out when I have them up! 🙂
Wow, thanks for this post! I'm throwing a birthday party for 3 of my friends in October and I think I will make these as decorations!
Oh, my gosh, Jen, that is so cool!! My 8yo daughter is really getting into decorating for parties, and she is coming up with all kinds of things for Little Pea's 4th in October. This is something she could make herself, and wouldn't it be pretty in Fall colors!!?
PS, I'm Stumbling this post!
What a beautiful idea! And it looks easy enough that I actually might be able to do it:) Thanks so much!
How did you do the snowflakes? Do yo have directions?
Hey these are so cute. I remember making flowers like these. I am planning a wedding and this would be so much cuter than just the regular paper wedding bells. Thanks for the idea.
I was frantic to find an inexpensive way to decorate bridal shower I am throwing for my Son’s fiance, thank you so much for the great pom pom idea. We made these in high school to put on floats, I had forgotten how easy they were & how pretty. You’re a life saver, now I’ve all but got my decorating plans done.
Thank you again
Genevieve Beise
I am so very glad you found it helpful. I actually hosted a bridal shower for my niece this summer. Maybe this will give you some more ideas because I did it all without spending much on decorations at all.
https://beautyandbedlam.com/inexpensive-bridal-baby-shower-ideas/
When I was a girl, quite some time ago, we made tons of these out of Kleenex and sometimes used a colorful marker to touch up the ends of white ones. They used to put them all over the cars for wedding parties and proms. Cannot think how they attached them.
I am having a birthday dinner this weekend for my daughter-in-law and I am going to try them.
Have fun making them. They will be perfect for a bday party. 🙂
I love these ideas! Big impact, small budget 🙂
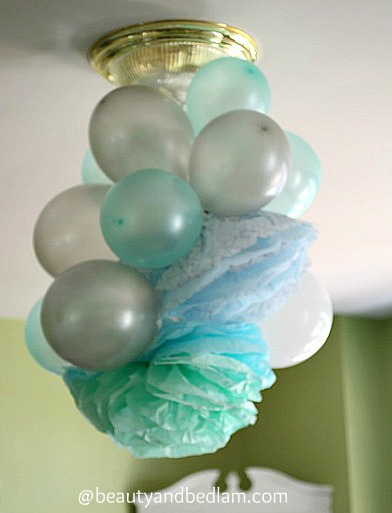
@Tiffany, Here is combining balloons with the tissue balls. Can you believe I never put up the post about the reception? YIKES!!
https://beautyandbedlam.com/inexpensive-bridal-baby-shower-ideas/