Can you believe it’s that time of year again? We’ve been having unseasonably high temps in the south, so our daffodils, hostas and buds are coming early. I always revisit this post because I continue to divide my free plants.
For the last few months, we’ve been tackling just a bit of our backyard bedlam. Just to make you all feel better about your yard, I showed you just how aggressively the weeds had taken over. I shared that the professionals told us our only hope for our grass was to start completely over and I asked for your suggestions on some of your favorite plants.
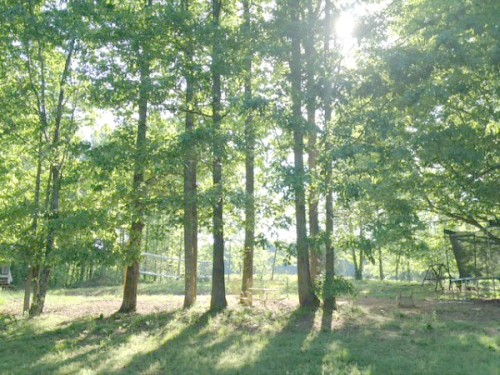
Since our front yard landscaping project is the first place we are going to invest in, you were great with all your ideas, but it’s a huge undertaking so for a quick landscape pick me up, I decided to focus on the area under our big shade trees – an area easy to beautify.
Initially, I made sure to kill all the crazy weeds lurking everywhere.
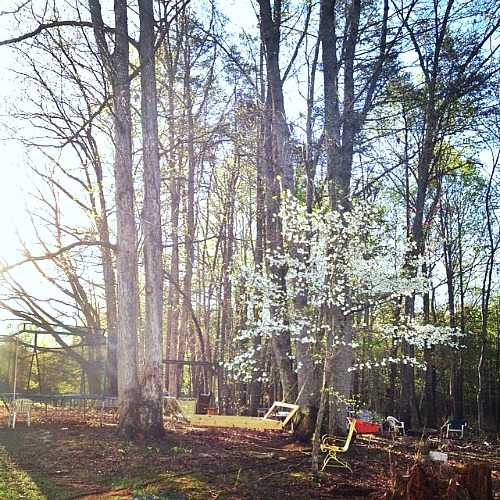
But then, our son decided to surprise me for my birthday by creating a tiny landscape oasis (read about it here), complete with a swinging bed, right in the spot where I had started to work.
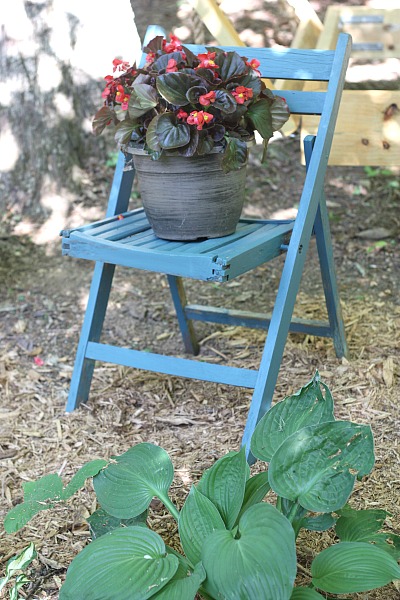
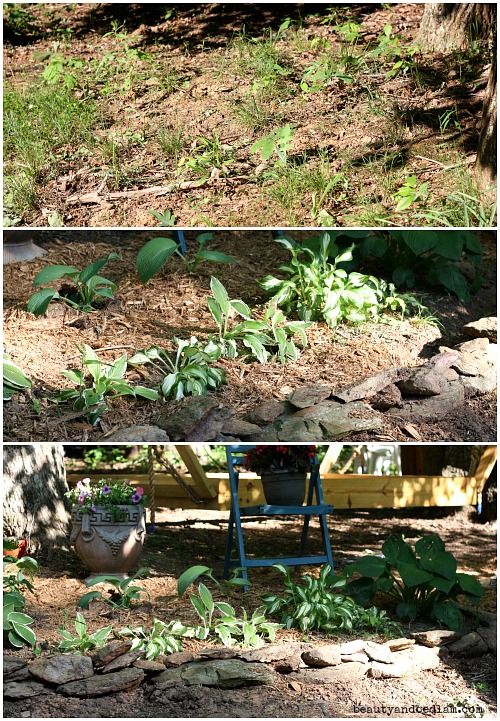
He divided the large hostess into small plants, used the rocks that he found in our woods and created the retaining wall and even pulled my freshly painted chair off the porch to use as a plant stand.
Honestly, that is about the best present this momma could ask for even above jewelry or chocolate. 🙂
He saved up and worked for weeks to surprise me, but not only did he make the swing bed, he also knew about my landscaping project and assured me that he’d take that over too.
How can I say “NO?” He decided on his “landscape design,” which includes using what we already had around the homestead.
He divided the large hostess into small plants, used the rocks that he found in our woods and created the retaining wall and even pulled my freshly painted chair off the porch to use as a plant stand.
This is called working well on a teenager’s budget and it’s also a way to ensure you will have free plants for life. The first picture is what it looked like when he started and then the last picture was as he was finishing up. I’m so proud of him.
A few years ago, a sweet friend let me know she was dividing her hostas and daylilies and asked if I wanted any. Ummm…YES!!!
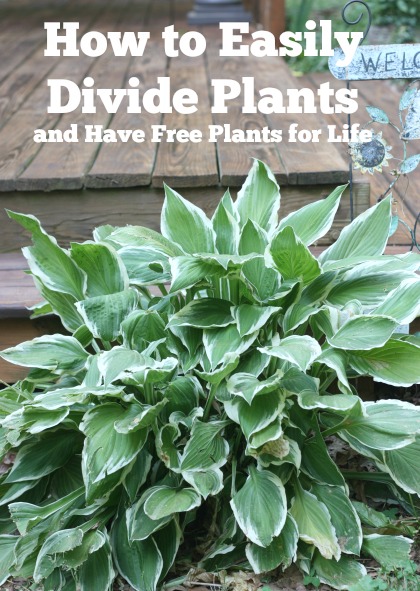
Lots of clumping perennials develop a really thick mass of roots and it’s in their best interest and yours, to divide them every three years.
The best varieties to do this with are hosta, daylilies, iris, astible and even daisies. You can divide their roots when they start to leaf out in spring or right before they bloom.
It’s now my favorite way of incorporating these wonderful perennials around our homestead and I want to share how it’s done. It’s frugal landscaping at its finest because you only need to buy one good plant to get you started.
Dividing Plants or Root Division is so simple.
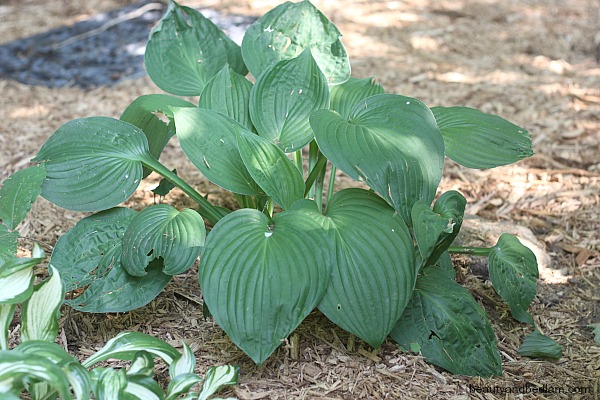
1. The best time to divide both hosta and daylilies is either the spring or fall. I find them both the easiest plants to propagate. For daylilies, divide them in the spring as soon as you see new growth appear or wait until after they finish blooming for fall dividing. For hostas, spring is the best time to separate them if this is your first time because the new foliage sprouts are closed making it much easier to see the actual root bulbs, but you can actually wait until late August, which is a great time to transplant.
2. Using any garden variety spade, dig up the existing plant with as large a root ball as you can manage. Dig all around it and pull it up.
3. Rinse or shake off the bulb so that you can find a natural place to divide the plant’s roots. You will be able to see the roots by pushing some of the dirt aside and find the major stems or plantlets. Don’t worry though, these plants are hearty and you can nearly divide them anywhere and they’ll be fine.
4. Some of the root balls will be soft enough that you can even use your hands or a small garden fork to divide, but for the tougher plants like the asters or hostas, use a garden knifed to divide the plant.
4. You don’t want to divide the plant into too many tiny portions. Every section should have a healthy amount of root mass attached because dividing them puts them through a bit of a trauma and you need to ensure they have a thick core to recover quickly.
And those simple steps is how we easily divide our hosta and daylilies, ensuring free plants for life.
Thanks to our son, I’ve been enjoying this little oasis, but he still has a bit more work to finish out the swinging bed. It’s actually perfect just how it is, but he wants to finish the foot and head board and still stain the wood, but those don’t get in the way of our family enjoying some naps out there. We’ve used our air mattress and it works perfectly.
Once I show you the finished swing, you will all want to build one. 🙂
I first published this last year, but sine my new hostas are popping up, I wanted to share these easy steps again. We’re slowing tackling our Southern Living Wanna be landscaping, so follow along here. Remember, when you’re on a budget, it’s all about the process. 🙂
When is the best time of the spring/summer to divide these plants? I was told not to divide my iris plants until after they had bloomed. Is that true for hosta and daylillies also?
Thanks for asking that. I should definitely go add that information. Hostas can be divided in both the spring or fall. The best time to divide them is after they come up but before they do any blooming so different than your iris plants. Although, I have divided really large strong hostas even after they have shot up some flowers. Both hostas and daylilies are very durable. Divide the daylilies also either in spring or fall. In spring, as soon as you see new growth you can divide them or wait till after they bloom and divide in the fall.
I love dividing my plants and expanding our garden each year!!
What a fabulous son you have.
This is one of my favorite reasons to grow hostas…you can divide them forever. The important thing is to remember to do it as soon enough in the spring…otherwise, they won’t fill out so they are nice and thick and round. Also, I do believe hostas must be the tastiest things in the garden since the bugs are always after mine so you have to be very watchful. Share them with everyone.
And don’t plant them anywhere near the relief valve drain from the hot water heater or they will be scalded out of existence.
Thank you for your words. I can only imagine your hot water scalding. What a bummer to lose those plants.
Will hostas grow in full shade??
Yes, we have some that only get two hours of partial sun a day and they do well. Just look for those specific types.
Lots of shade. ..try azaleas and astilbe…hanging Begonias…add some color and very beautiful! For a sunnier spot, tree peonies …they only bloom for a brief period late spring but are Gorgeous and we’ll worth it. You will never go wrong with dahlias. ..they come in so many varieties and are spectacular when in bloom. Good luck!!!
Awesome space you’re going to throughly enjoy for years to come. You’re a blessed person. Give your son a hug from me. You did and great job raising him! I’m headed outside to play in the grass and dirt! Happy warming season!
I planted hostas on the north side of my house thinking they would be shaded enough. The edges of the plants turn brown and dried up. Is this because they are getting to much sun? Thanks for your help! Also I guess the grasshoppers really like them because they are the first to get chewed up. Any suggestions?
When is it a good time to prune purple sage?
How exactly should it be done?
Two of them have grown over the driveway, and
don’t stand up tall.
Thanks.
Can’t wait to do this next spring! I’ll have so many daylilies I won’t even know what to do with them all.